Git and Basic Commands

What is Git??

  • Git is a version control system for tracking changes in computer files.
  • It is developed in 2005 .
  • It is distributed version control system. There are other centralised version control systems like SVN.
  • It coordinates work between multiple developers.
  • We can identify who made what changes and when they are made.
  • We can alse revert back changes any time.
  • We will have local and remote repositories.
How it works??
  • Git will keep track of code history.
  • It takes snapshots of our files, snapshots are taken when we commit changes.
  • Before committing we need to stage the changes.
  • The process goes as follows.   
     Create a local repository. Initialize it as a git repository. Add files and make changes.Stage the files. Commit the changes. Push the changes.
Basic Commands
git init //Inialize local git repository
git add <file> //Add single file to index
git add -A      // Add all files to index
git commit -m “Your message” // commit the changes in index
git push    //push changes to remote repository
git pull  //pull latest from repository
git clone //clone repository into a new directory

Getting started with Git

Today we will go through setting up git and creating our first repository.

Follow the steps below:

  1. Download Git on your system from here Download Git based your operating system and install it following the set up instructions.
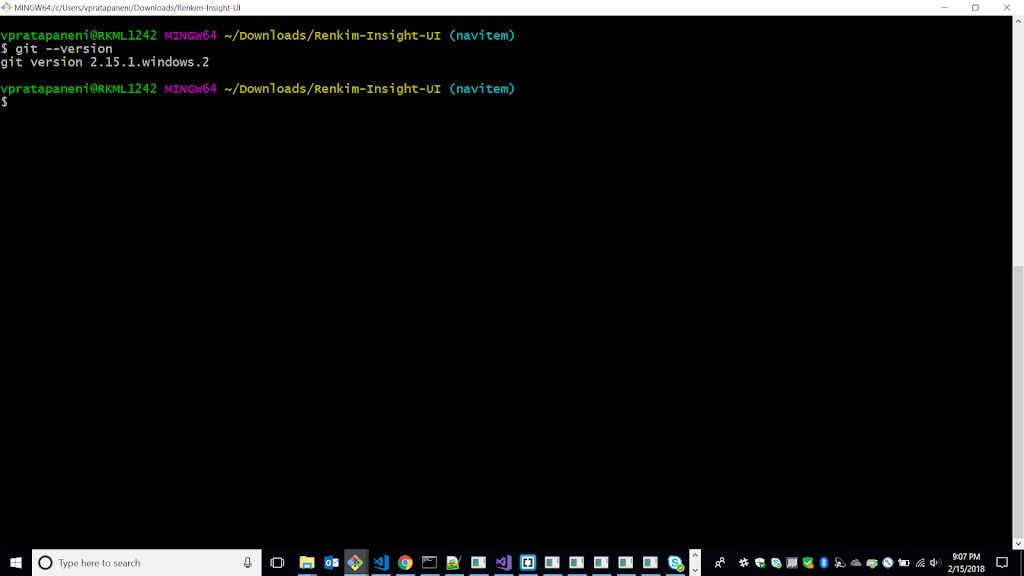
  2. After installing you can use the command git –version and check the version you are using.
  3. Create a folder and after creating it right click on the folder and you will see an option git bash here. Click on it and you will see a git command line opened.
  4. It will open a command prompt with the folder location created in step 3 as shown below
  5. Now we will initialize this as a local git repository using the command git init.
  6. Now we can add files in this folder. Once the changes are made we will first stage these changes by using command

    git add <Filename>.

  7. We can use this command number of times and add files or we can use command

    git add -A

    to add all files in the folder.

  8. After all the files are added we need to commit the changes. This is done by using command

    git commit -m “Your message here”.

  9. Before committing it will ask to set username and email to identify the users who are committing to this repository. These values can be set by using commands

    git config –global user.name “Your Name”

    git config –global user.email “Your Email”

    If you want to make use of the details for only this repository you can omit global and run the commands.

  10. Once commit is made all the files and changes you made are committed and are tracked now.We need to push this changes to remote repository.
  11. Now go to Github  and login to your account.
  12. After signing in create a repository.
  13. After creating repository you will be directed to a page as below. Since we already have a local repository we will use second section commands.
    git remote add origin https://github.com/narendravenkata/Test-Demo.git


  14. Now we have provided the remote local where to push our local repository . Now before pushing the changes we need to set the upstream branch .This is done as follows.
    git push -u origin master


  15.  When pushing it will prompt for username and password , please enter your github login credentials
  16. This will push the changes and you can refresh the browser and will see the files and changes you made.

Setting github webhook on your repository to trigger an action in Jenkins

The following steps show how to trigger a build by using github webhooks in Jenkins. The rpre requirements here are :

  • make sure jenkins in installed and git plugin is installed.
  • git is installed .
  • path of git.exe is valid in jenkins global tool configuration.
Please refer to my other articles if you have trouble in setting up the environment.
  1. open jenkins and click on new item. This would take you to the screen as shown below:
  2. Give a name and select freestyle project.Click Ok. 
  3. This will redirect to another screen.Enter description of the job if needed or else move the source code management section.
  4. Under source code management section select git and paste the git repository url as shown below:
  5. Now if you move to next section you find build triggers , under that select GitHub hook trigger for GITScm polling.
  6. Selecting this, if jenkins will receive PUSH GitHub hook from repo defined in Git SCM section it will trigger Git SCM polling logic.
  7. Now we need to set up webhook on our repositpory. So go to the github repository mentioned above in the git scm section.
  8. When we go to the repository, click on settings and then webhooks. Under webhooks click on add new webhook. The screen should look like this:
  9. Here under the payload URL we need to mention the details of the jenkins service we are running inorder to receive the HTTP POST information from github.com
  10. Here in my case I am running jenkins on my local machine, so I am providing the URL as below:
  11. If you have a secret provided during jenkins installation you can add this here and there is also a flexibility to select on which event we want the webhook to trigger.
In this way, we can setup webhook and trigger build in Jenkins.

Github Webhooks

Consider a situation where you are in an organisation which makes use of GIT source code management and you need to trigger a build only when there is a new commit on the repository, alternatively you may have a build triggerred at any custome interval of your preference but it is a waste of resource if we are building the same source code without any updates.
             The above requirement can be achieved by making use of github webhooks. Github webhooks allow applications to subscribe to certain events on github.com, so whenever one of those events is triggered , a HTTP POST payload is sent to the configured webhooks URL. Webhooks can be used to trigger builds, deploy code to production server, track issues and also send notifications.